This post may contain affiliate links. Please read our disclosure policy.
Simple chickpeas get a fun upgrade with this Caramelized Onion Hummus. It’s hard to go back to the same old hummus after trying it with caramelized onions. It’s worth every minute!
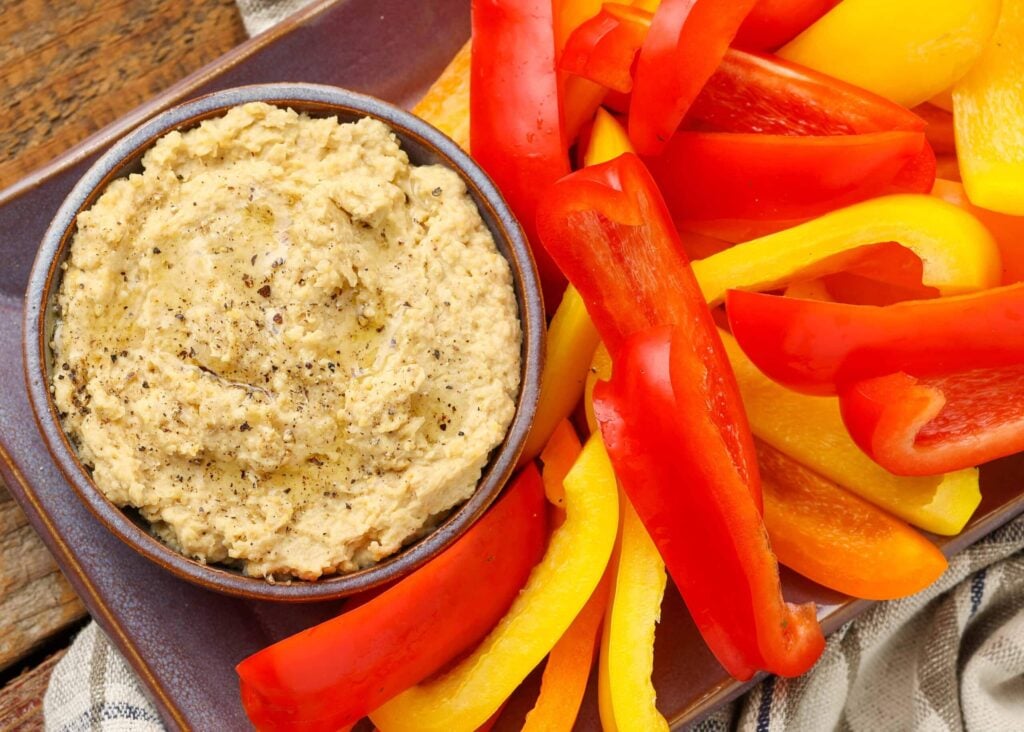
My friend, if you’ve never made hummus at home, then you are absolutely missing out. I’ve been playing with different flavors for a while. (I even made roasted cauliflower hummus a while back!) But, this caramelized onion hummus has become one of my favorite ways to use up our big batches of caramelized onions that I make in the crock-pot. It’s fresh and flavorful, and using the slow cooker onions makes it lightning fast, too.
Caramelized Onion Hummus

Whether I’m making a snack for a party or just a quick lunch, hummus is a great option. You can use it with pita chips, fresh vegetables, and so much more. I love it. And based on how quickly this hummus disappears, it’s safe to say my boys love it at least as much.
If you’re cooking caramelized onions from scratch, this hummus will come together in 30-40 minutes. But, when I already have the caramelized onions on hand, I can whip up this hummus in about five minutes.
And speaking of having those onions on hand? If you’re lucky enough to already have them stashed in your freezer, you should probably stir together a batch of caramelized onion dip as well, while we’re at it today. Your family will thank you!
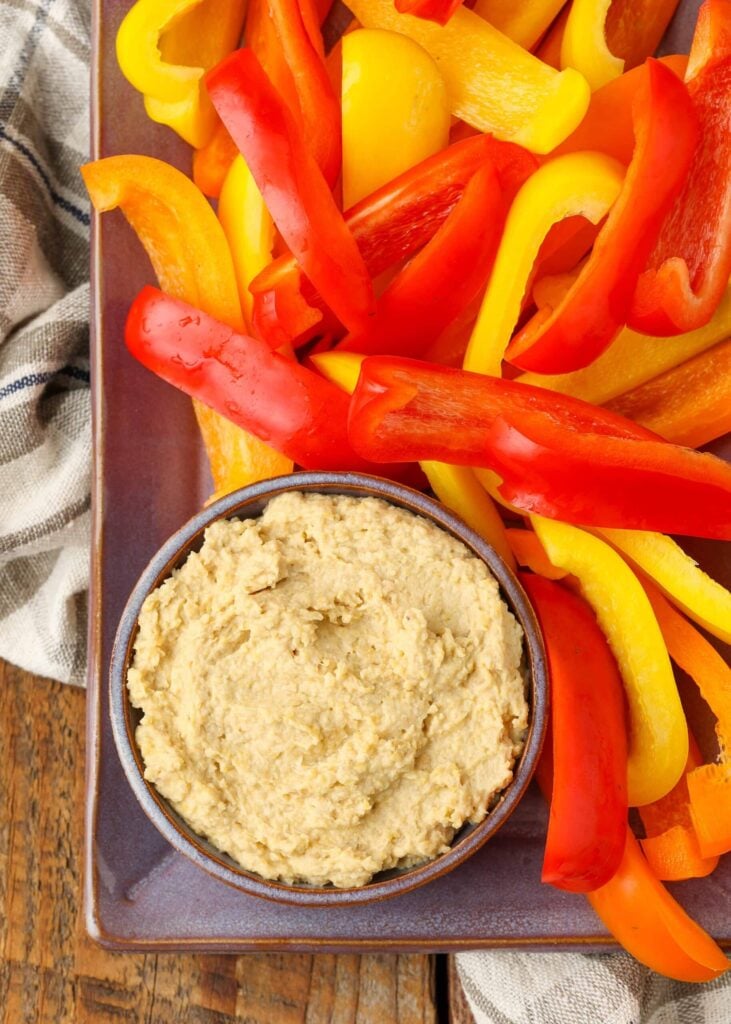
Ingredients and Substitutions
Caramelized Onion Ingredients
Onions – Yellow onions have a milder, sweeter flavor which caramelizes beautifully.
Butter – Unless otherwise specified, I always use salted butter.
Hummus Ingredients
Chickpeas – Traditionally, chickpeas provide the nutty, smooth foundation for this snack. I use canned chickpeas because they’re cooked, which makes the assembly process easier.
Caramelized Onions – You can either use homemade caramelized onions if you have them already, or make them from scratch per the instructions below.
Tahini – The richness of the sesame flavor from tahini sauce makes a great contrast with the mild nuttiness of the chickpeas.
Olive Oil – For a stronger flavor, I typically use extra virgin olive oil.
Garlic – You’ll want to use freshly minced garlic for this recipe. The flavor is so much better than the alternatives.
Salt & Pepper – I always use kosher salt and freshly ground black pepper, unless otherwise specified.
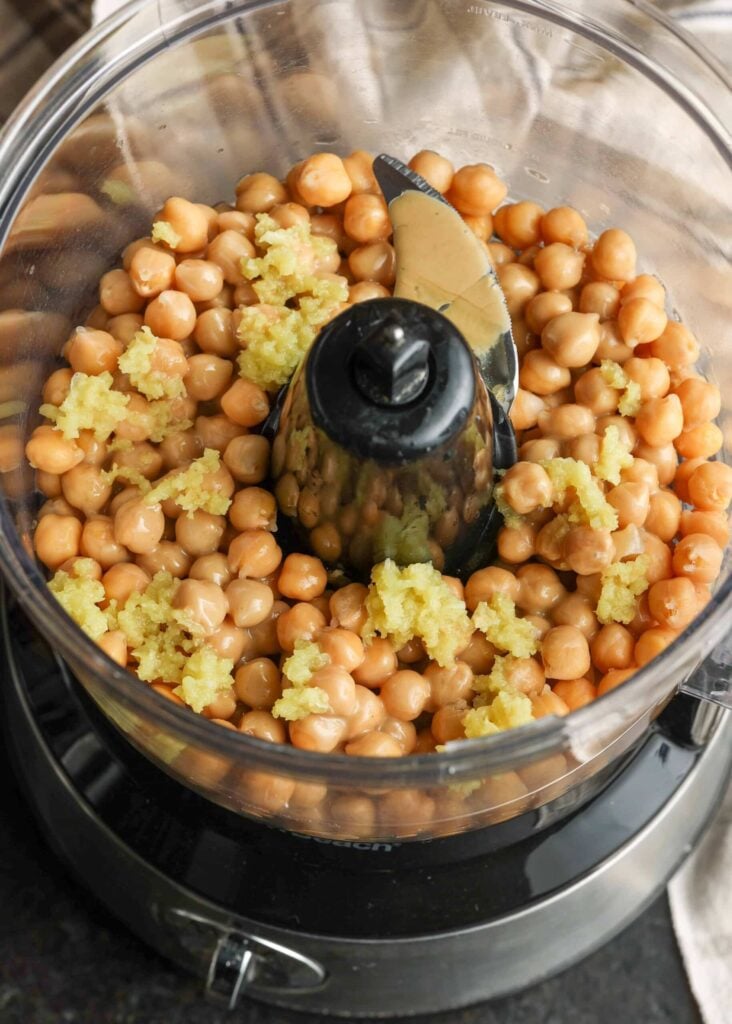
Notes on Equipment
- Sharp Knife. Food prep is so much easier when you have a quality knife, and slicing a big pile of onions is where you really feel it. I first tried Victorinox knives over 10 years ago while visiting a professional test kitchen. You could say it was love at first slice. The price point simply can’t be beat for the quality.
- A cutting board
- A food processor
- A colander or fine strainer
- Quality Skillet. I really enjoy cooking with this one. I’ve owned mine for over 10 years, and it just keeps on going. It heats evenly and feels very solid and well-built, which is exactly what you want for coaxing onions all the way to deep, sweet caramelization without scorching. A professional-grade pan that makes everyday cooking a lot more enjoyable.
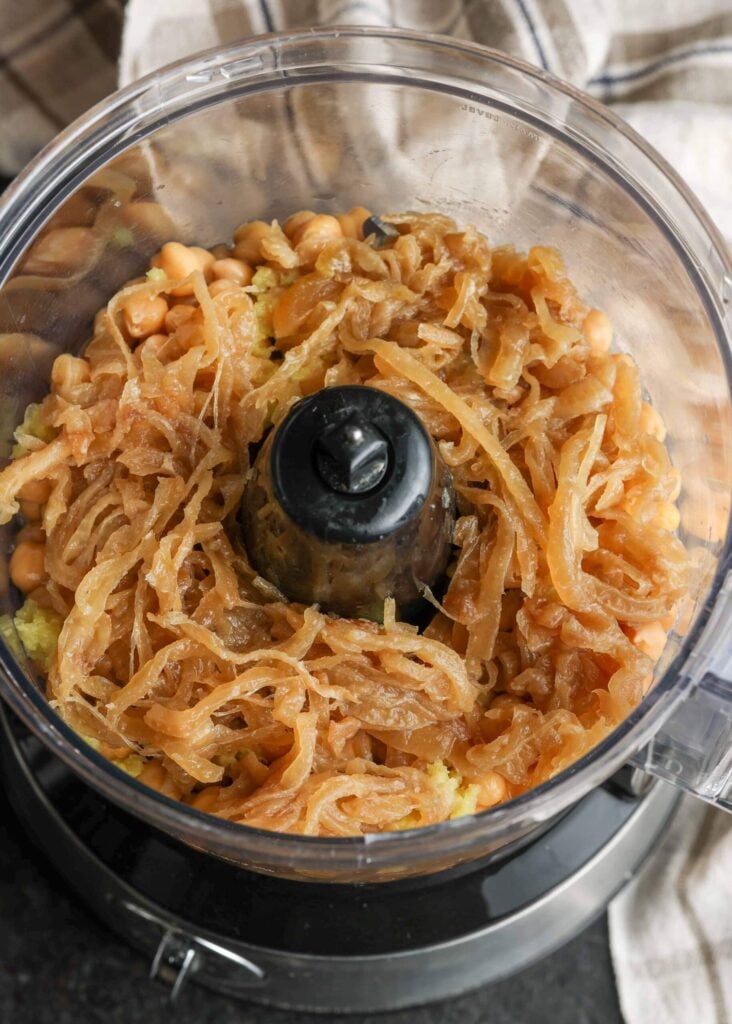
How to Make Caramelized Onion Hummus
Caramelized Onion Instructions
Preheating the Skillet: To start, you’ll want to warm a skillet on the stove over medium heat.
Chopping the Onion: While the pan heats, you’ll want to cut the onion into thin strips.
Melting the Butter: I melt the butter in the pan.
Cooking: Once the butter has fully melted, add the onion to the pan and let cook for 25-30 minutes. You’ll know the onions are done when they’re tender and have a caramel brown color.
(Alternatively, you can follow these instructions for a large batch of caramelized onions made in the crockpot. Freeze them in ½ cup portions and use as desired.)
Hummus Instructions
Draining the Chickpeas: To start, I drain the chickpeas in the sink and set aside until needed.
Mincing the Garlic: You’ll want to mince the garlic, very finely. The goal is to distribute garlic flavor throughout the dish without leaving pieces large enough to overwhelm the bite.
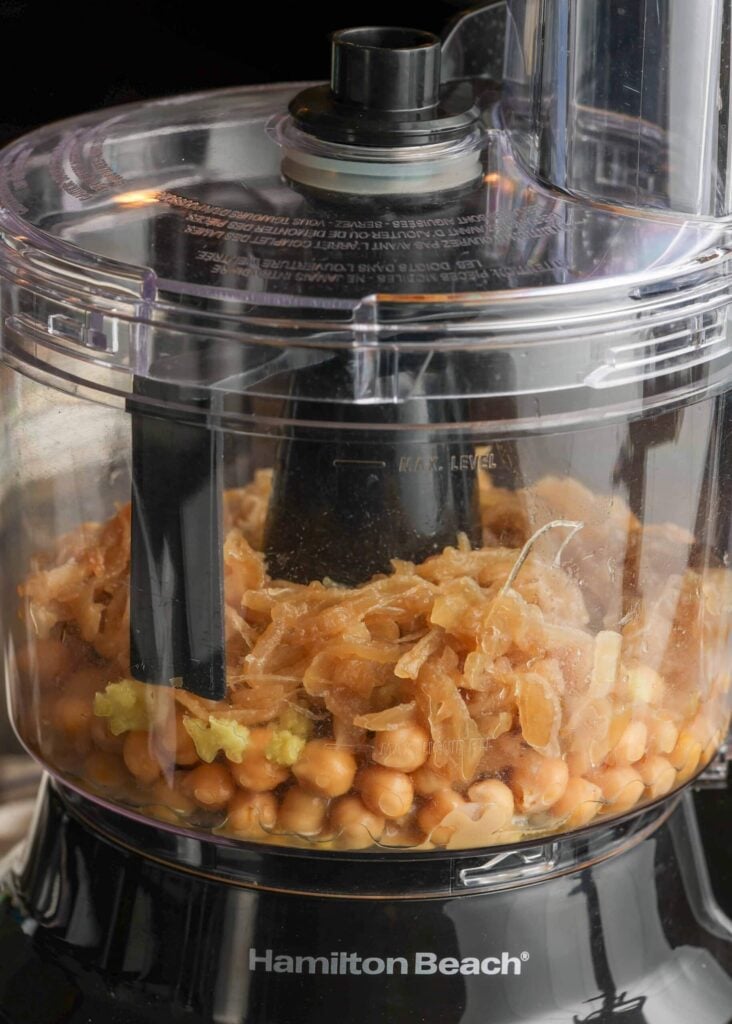
Combining the Ingredients: Add the chickpeas, caramelized onions, olive oil, tahini, and garlic.
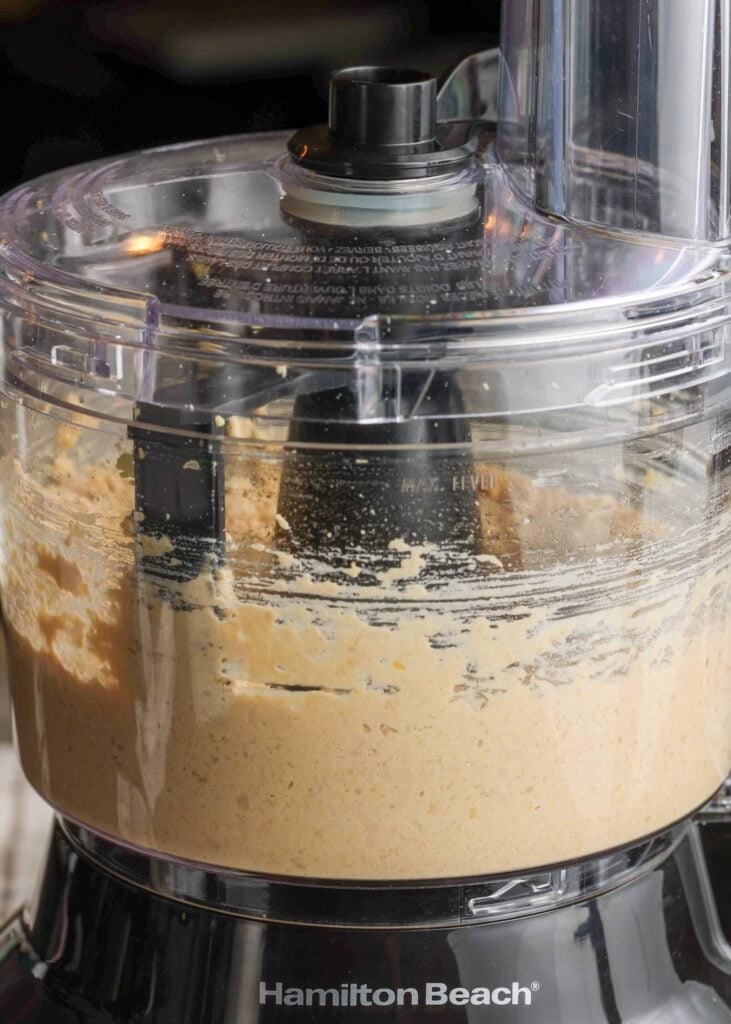
Blending: Blend until the mixture is smooth.
Tasting: At this point, you’ll want to taste the hummus and add salt and pepper as desired.
Serving: I serve immediately, or store the hummus in an airtight container in the refrigerator until ready.
Expert Tip
Cooking the onions isn’t just a way to make them softer for a dip. To have the best balance of spice and sweetness, the onions have to be caramelized. As onions cook, the natural sugars they contain break down and concentrate, which is what produces that rich golden-brown color. This helps undercut the sharp onion taste and adds more flavor to the chickpeas.
Blending in Stages – Whenever I blend dips and sauces, I always run the blender in quick bursts, only a few seconds at a time. This helps me dial in the consistency to exactly what I’m looking for.
Checking the Consistency – You want the hummus to be thick enough to scoop, but still thin enough to be smooth and creamy. I often test the consistency by scraping a chip or spoon through the dip. There shouldn’t be much resistance, but the groove should still be visible.
Balancing Spices – When you taste the hummus before serving, you’re looking for a mixture of spice and sweetness. If the amount of tahini or garlic seems off, hummus is fairly forgiving. You can just add more to taste.
If the tahini you’re using is creamy enough to affect the consistency, you can balance it out with a few more drops of olive oil.
Serving Suggestions
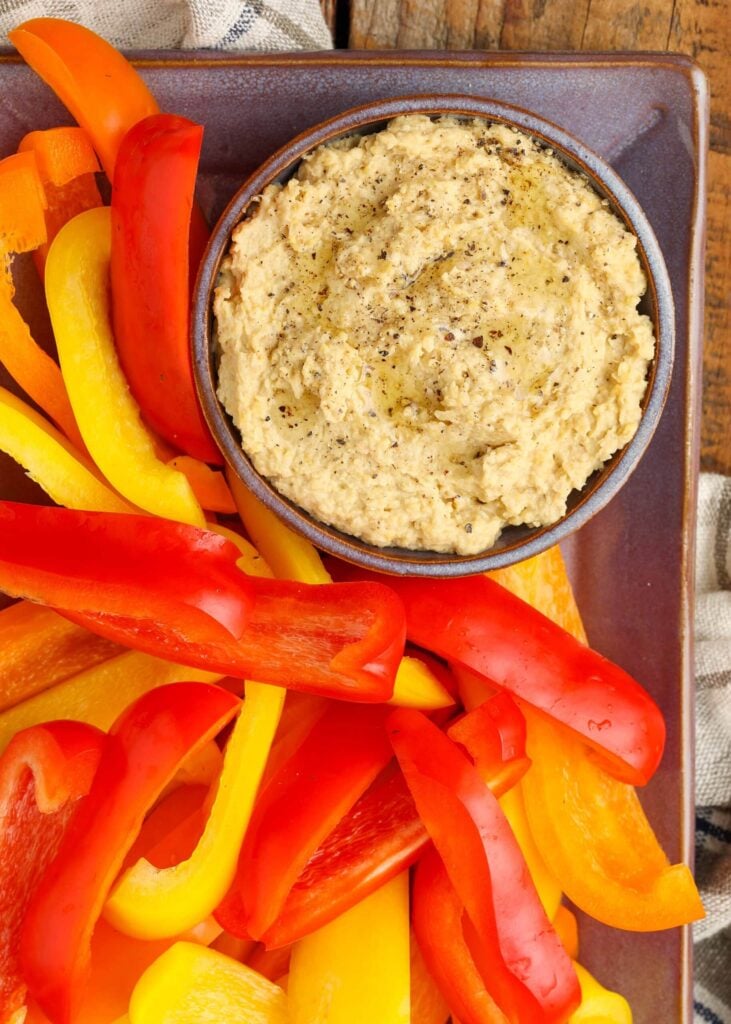
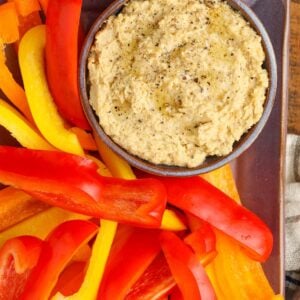
Set this hummus out with plenty of fresh vegetables for dipping, and add some crackers or pita chips alongside. It also earns a spot on a charcuterie board. When I’m putting one together, I like to tuck in some quick pickled green beans or a handful of crispy cajun cauliflower for a little crunch and heat. Snack heaven.
Make Ahead & Storage
Make Ahead: Yes, this hummus can be made in advance. When hosting a crowd, you can leave this in the fridge overnight and serve it the next day, and it’s absolutely great.
How to Store: This hummus can be stored in an airtight container in the refrigerator for up to three days or in the freezer for up to a month.
More Dip Recipes
- Stovetop Spinach Artichoke Dip
- Corn Queso Dip
- Baked Potato Dip
- Street Corn Dip
- Easy Salsa
- Artichoke Jalapeno Dip
Frequently Asked Questions
Yes, but you’ll have to soak and cook them before blending the hummus.
You’ll want to place roughly ½ cup of dried chickpeas in a large bowl, then fill the bowl with cold water. They should be completely submerged. Cover the bowl, then let soak on the counter for 8-12 hours.
After the chickpeas have softened and roughly doubled in size, add them to a large pot and cover completely with fresh water. Then, you’ll want to bring the heat to a boil. Once you see bubbles on the surface of the water, let cook until the chickpeas are very soft, about 60-90 minutes. I usually check to see if I can crush a chickpea between my fingers easily. After this stage, you can drain and blend them like you would canned chickpeas.
When the caramelized onions have finished cooking, they should be tender and have a deep golden-brown color. I usually taste one with a fork to check for doneness. You’re looking for a mildly sweet, jammy flavor.
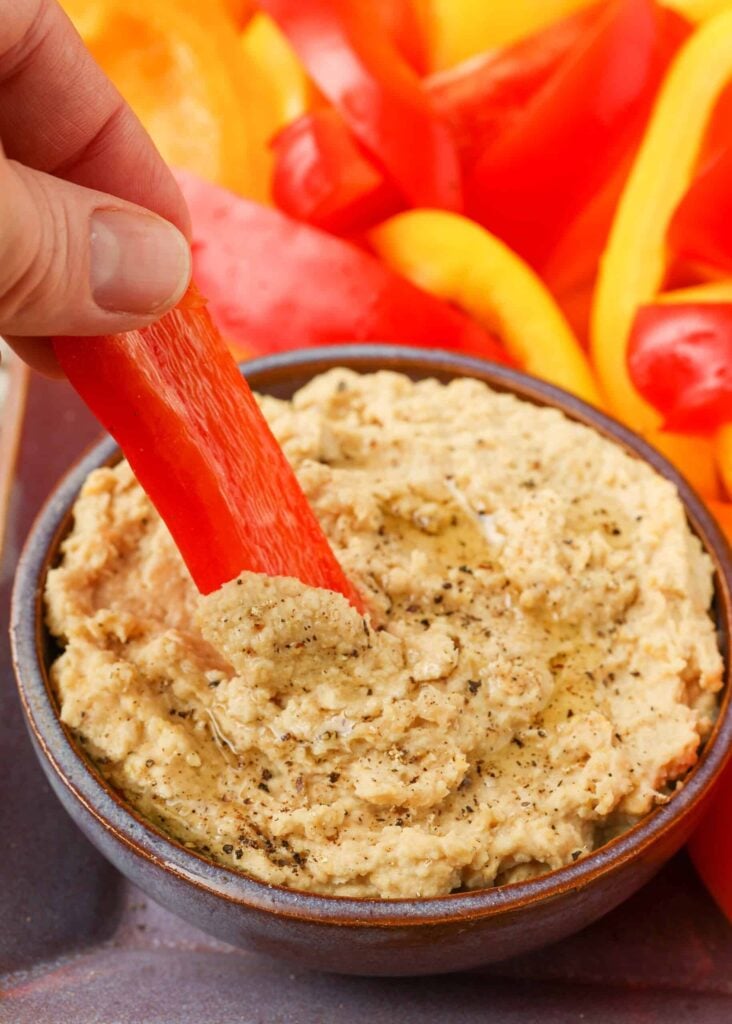
This makes a great dip for raw vegetables, pita chips, or crackers. I’ve also been known to use it as a spread on sandwiches and wraps.
If the hummus seems too thick after blending, I alternate adding a tablespoon of olive oil and a tablespoon of cold water, pulsing at each step, until I reach the desired consistency.
Caramelized Onion Hummus

Ingredients
Caramelized Onion Ingredients
- 2 tablespoons butter
- 1 large onion diced or cut into thin strips
Hummus Ingredients
- 15 ounces canned chickpeas drained
- ½ cup caramelized onions (if desired, use the linked recipe for the slow cooker option)
- 3 tablespoons tahini
- 2 tablespoons olive oil
- 4 cloves garlic minced
- ¼ teaspoon kosher salt adjust to taste
- ⅛ teaspoon freshly ground pepper adjust to taste
Instructions
Caramelized Onion Instructions
- In a large skillet, melt the butter and add the onion. Cook over medium heat for 25-30 minutes or until onions are a caramel brown in color. Let cool.
- Alternatively, you can follow these instructions for a large batch of caramelized onions made in the crockpot. Freeze them in ½ cup portions and use as desired.
Hummus Instructions
- In the bowl of a food processor, combine chickpeas, caramelized onions, tahini, olive oil, and garlic. Process until smooth. Taste the hummus and add salt and pepper, as desired.
- Serve with raw vegetables, pita chips, crackers, or use as a spread on sandwiches and wraps. Store in an airtight container in the refrigerator.
Nutrition
Nutrition information is automatically calculated, so should only be used as an approximation.